Learn Butterfly Stitch with Video Guide
Ever watched a delicate winged pattern in crochet and wondered what is a butterfly stitch? The butterfly stitch is an eye-catching, very-textured technique for creating motifs resembling butterfly wings tucked away among rows of stitches. Of great appeal to both knitters and crocheters, the crochet butterfly stitch is highly regarded for adding a charm that elevated almost to a texture.
This thorough guide will take you through what is a butterfly stitch, how it is used, when to use it, and tips from well-seasoned crafters like My Creative Butterfly, a self-taught artist who creates realistic crocheted flowers and micro-miniatures inspired by nature.
What is a Butterfly Stitch?
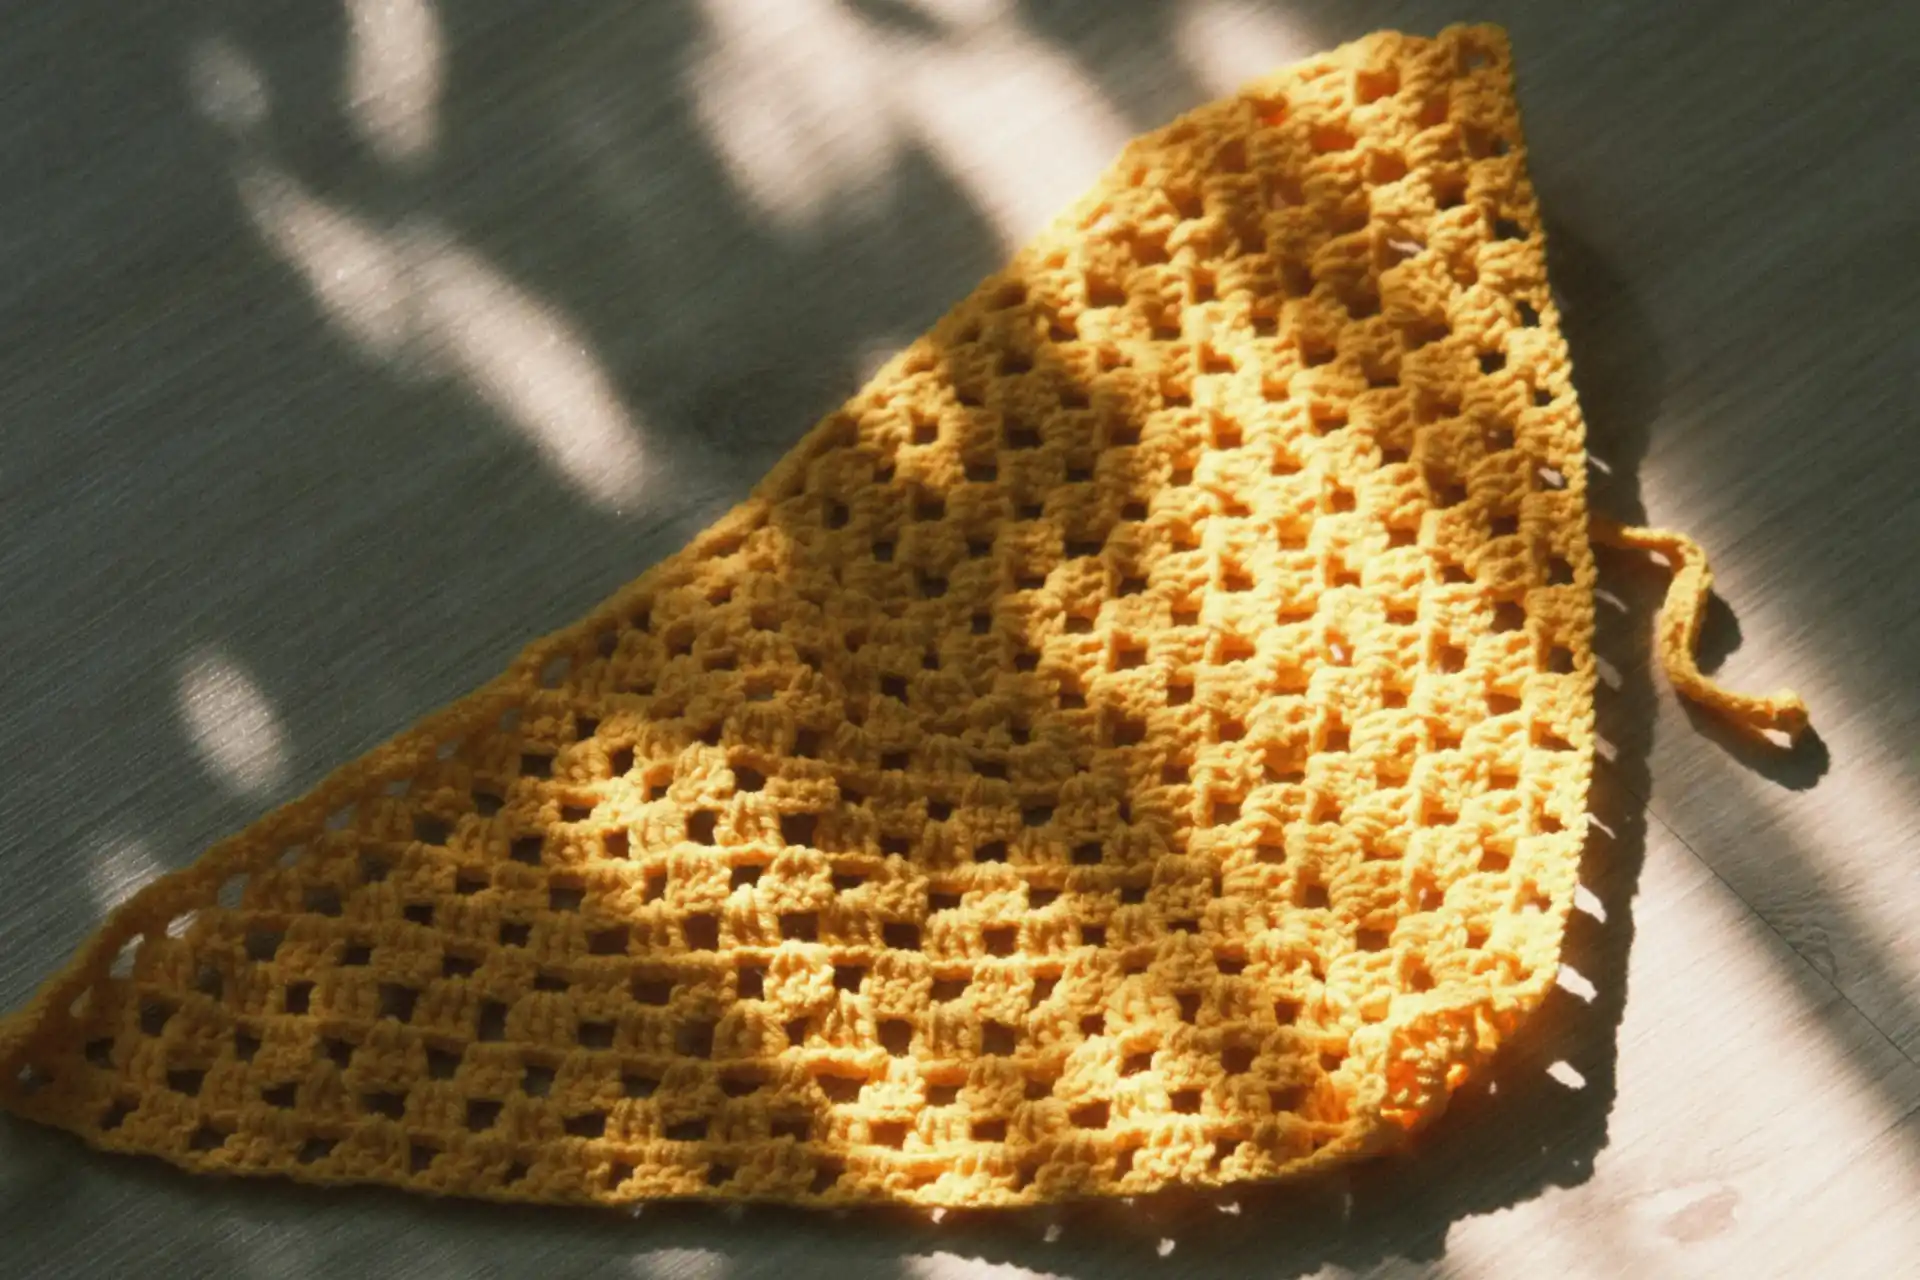
So, what is a butterfly stitch? It’s a decorative crochet stitch in which the loops are “pinched” apart at intervals to form a butterfly-like shape. This special texture is formed when the yarn is wrapped around a few vertical stitches and drawn together. The repeated motif will lend some depth, charm, and grace to your creation.
Unlike basic stitches, what is a butterfly stitch requires a bit of practice and timing; it’s not just a matter of doing the motion, but learning when to insert the hook, pull the loops together, and anchor the pattern evenly across the rows.
The Appeal of the Butterfly Stitch
Many crocheters are drawn to this stitch because of its versatility. Once you master what is a butterfly stitch, you can apply it to a wide range of projects like:
- Baby blankets
- Scarves
- Shawls
- Cardigans
- Home decor pieces like cushions and throws
The light effects and texture are crucial things to be considered when defining what is a butterfly stitch. It is not a flat stitch. It goes out of the base, gets a shadow, and contributes to a sense of movement, hence the favorite stitch among crafters intending to create sophisticated designs.
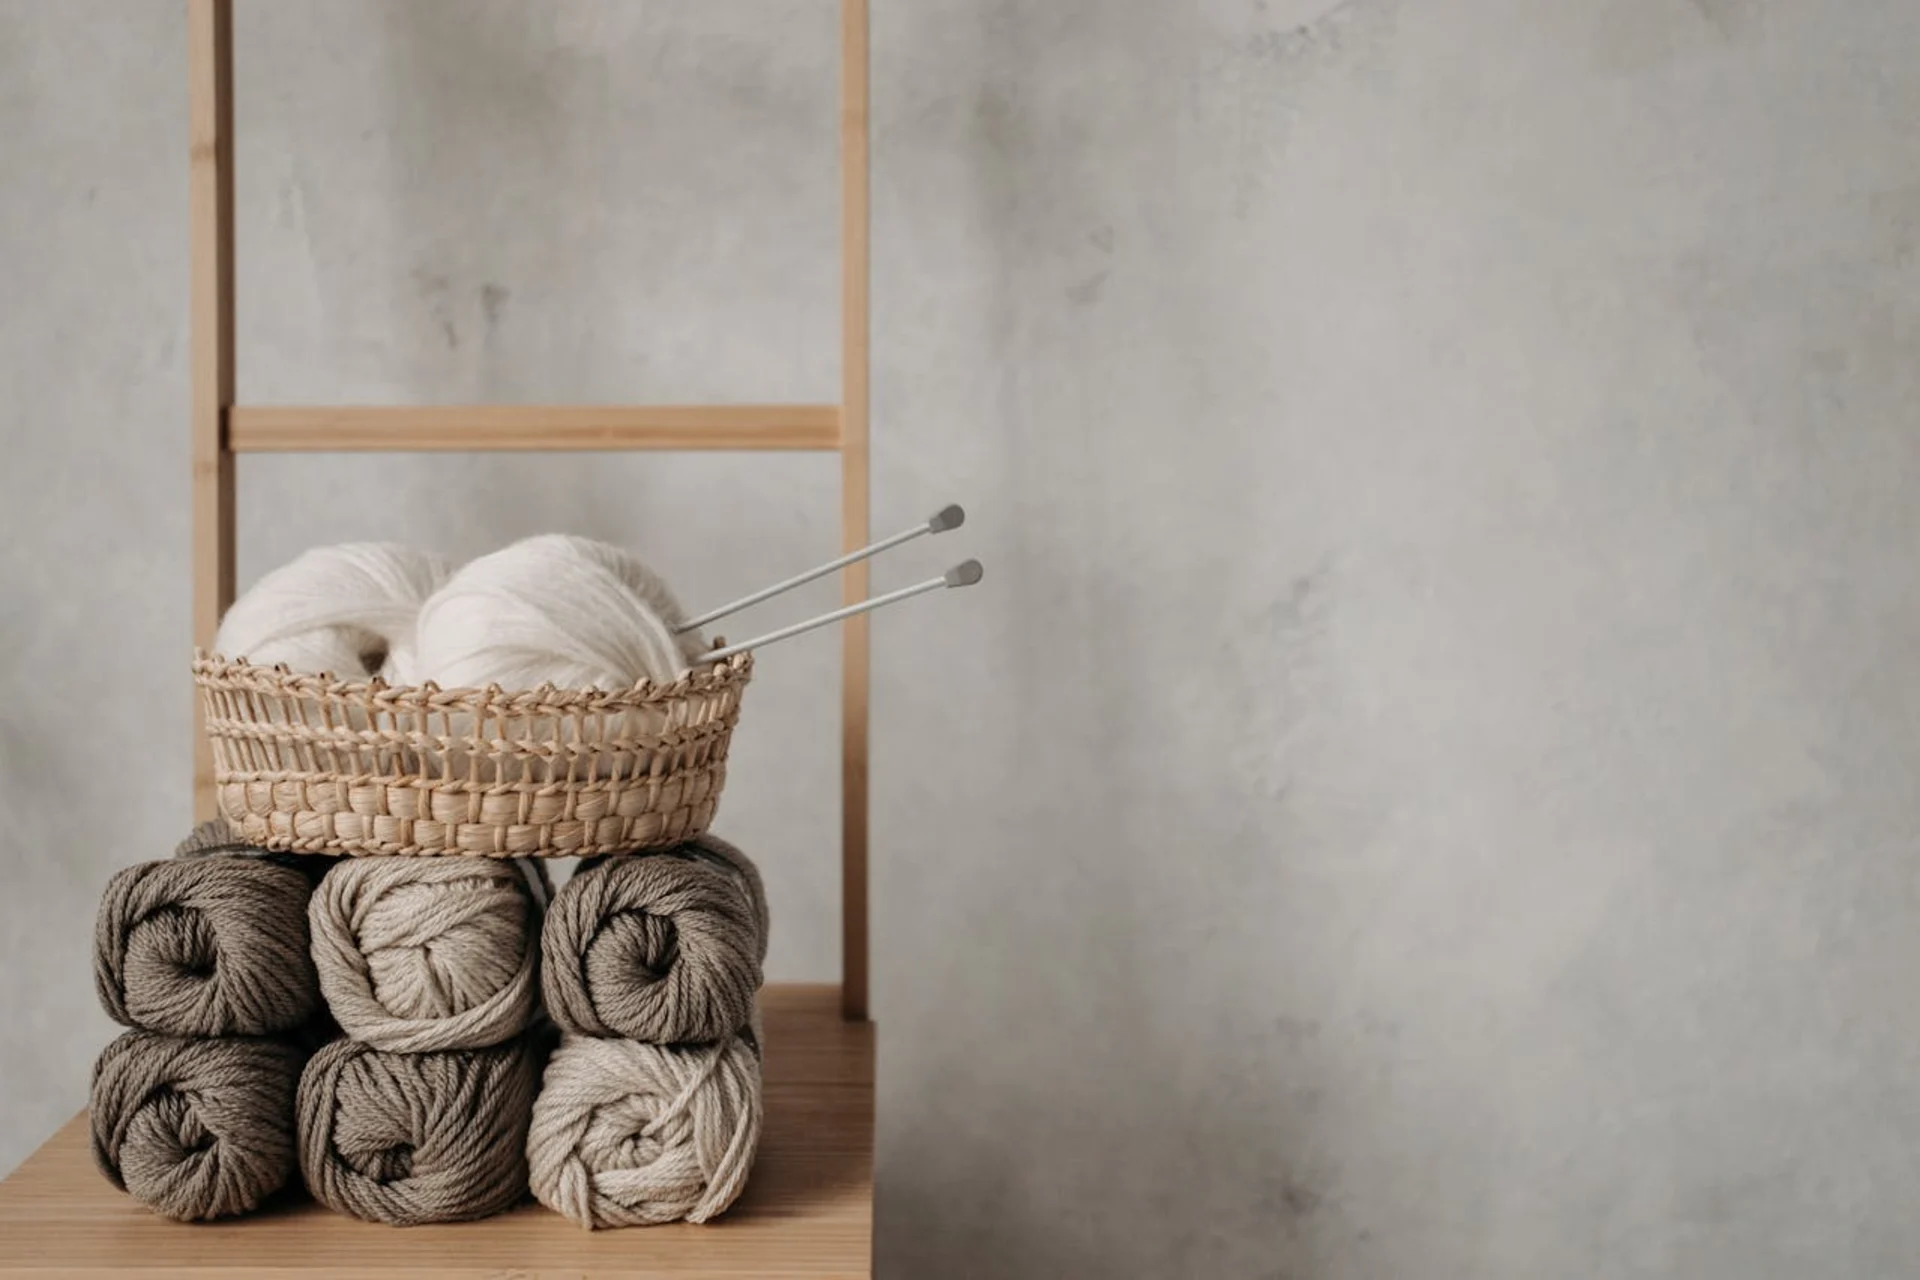
Materials You’ll Need
Before you dive into the steps, gather the following materials:
- A medium-weight yarn (a light-colored yarn works best when first learning)
- A crochet hook that complements your yarn size (usually 4.5mm–6mm)
- Stitch markers
- Tapestry needle
- Scissors
Understanding what is a butterfly stitch begins with using the right tools, especially when tension and consistency matter.
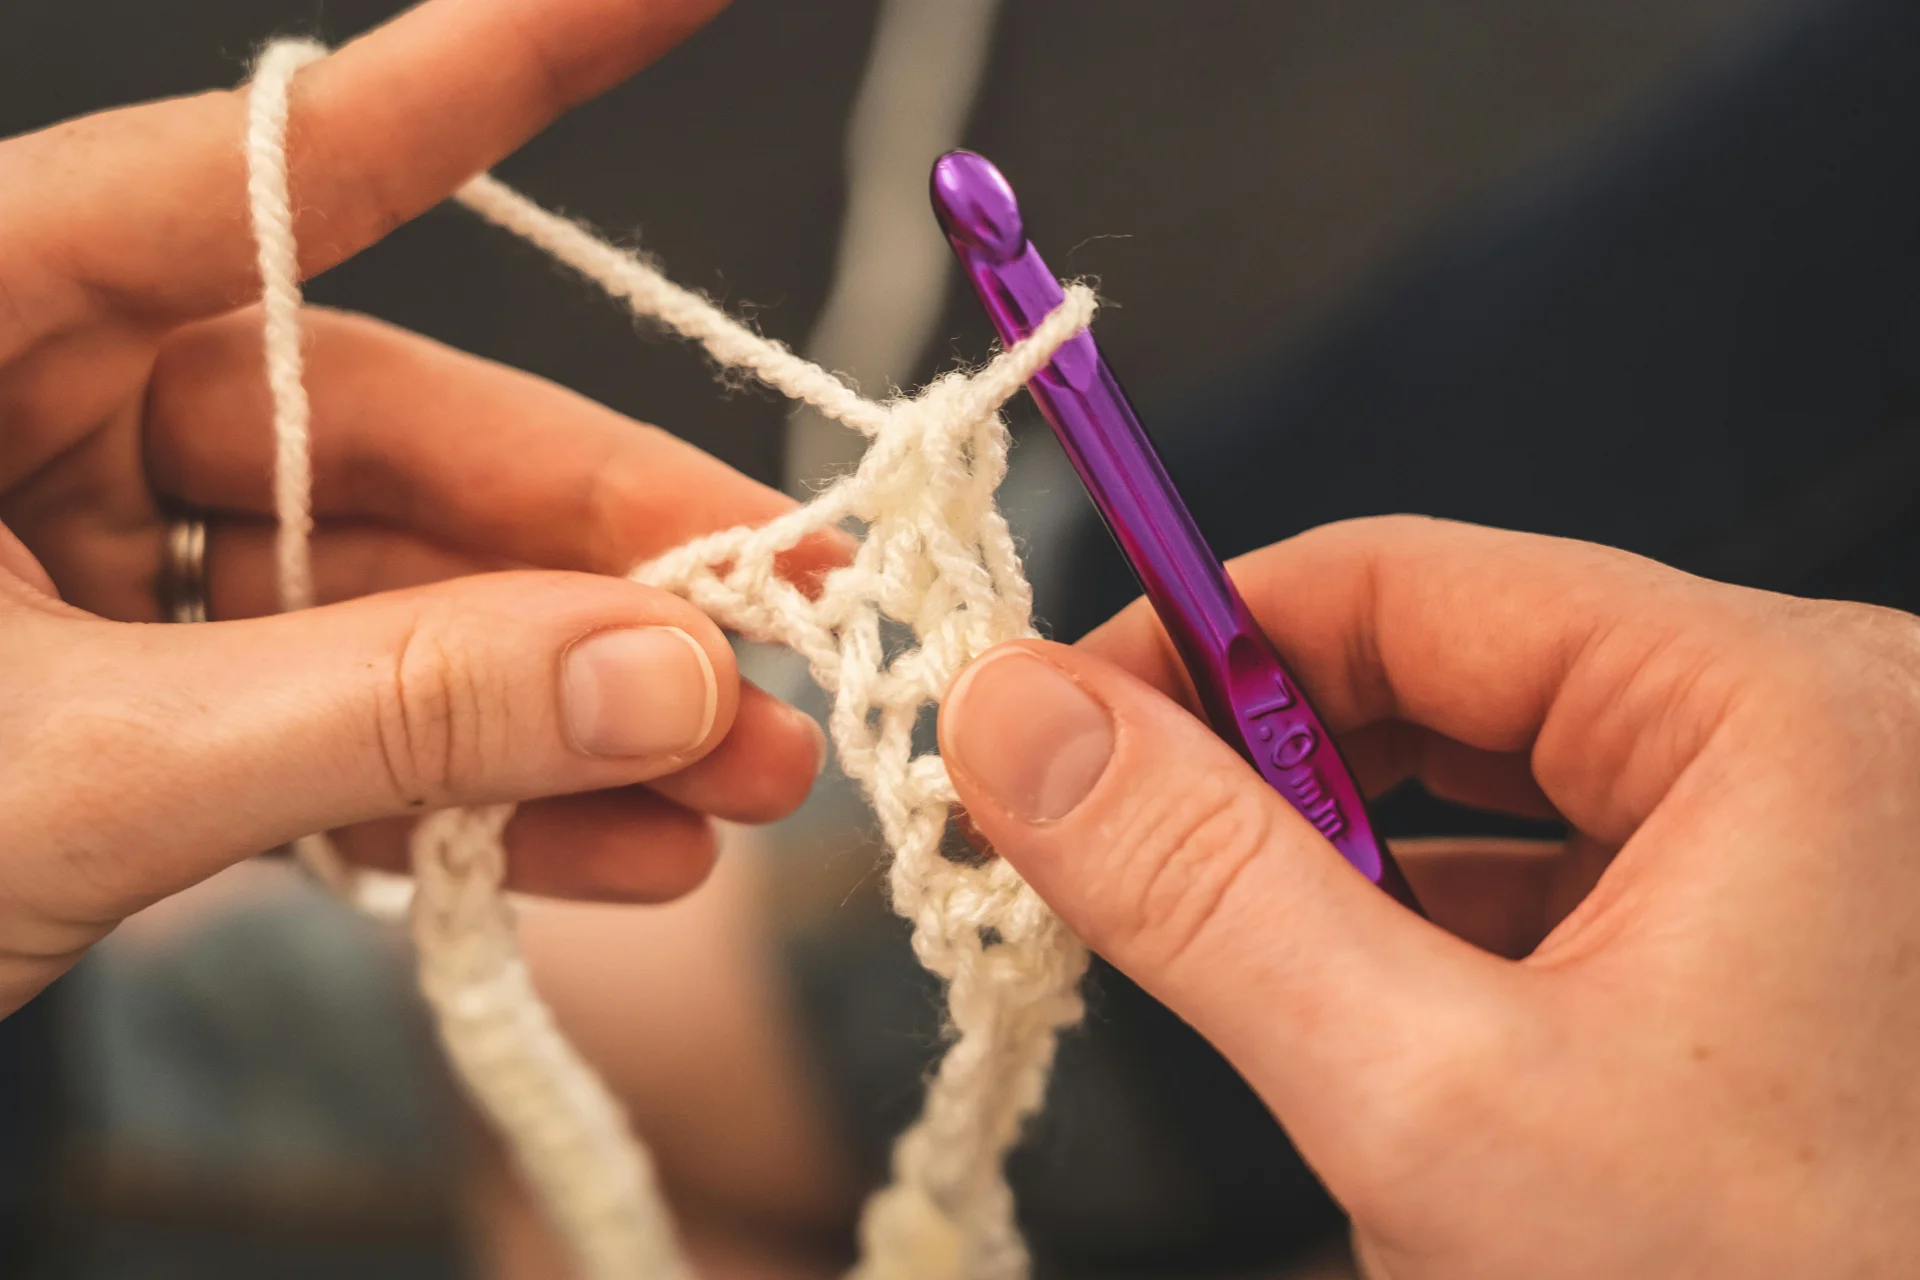
Step-by-Step Guide to Crocheting the Butterfly Stitch
Let’s break down the steps for those who are ready to learn what is a butterfly stitch with clear instructions.
Step 1: Foundation Chain
Start with a multiple of 4 plus 1 (e.g., 25 stitches). This ensures that the butterfly groups align perfectly as you crochet.
Step 2: Base Row
Work a row of double crochets (dc) across. This forms a stable base for the butterfly loops.
Step 3: Create Loop Rows
Continue crocheting rows of double crochets. After every few rows, you’ll start the butterfly formation.
Step 4: Pinch and Wrap
When working the designated butterfly row:
- Insert your hook under a group of vertical strands from previous rows.
- Pull the yarn through and wrap it around the group to “pinch” it.
- Chain 1 to lock the butterfly body in place.
- Continue with the next set of loops.
This process is the core of what is a butterfly stitch. It transforms straight rows into fluttering motifs and creates a dynamic texture.
Expert Inspiration: My Creative Butterfly
If you still want to know what is a butterfly stitch is and how far you can take it, just consider My Creative Butterfly, a self-taught artist crocheting for over 20 years. She does very complex realistic floral installations and micro-miniatures, most of which are inspired by the delicate beauty of nature.
Butterflies are often a theme in her work, both literally and symbolically. “The butterfly stitch is one of my favorites,” she confides. “It mirrors the elegance of nature and fits perfectly into my floral compositions.”
Whether you’re creating petals or just spritzing a little lusciousness on a scarf, learning what is a butterfly stitch will elevate your designs the way it has hers.
Where to Use the Butterfly Stitch
Once you’ve grasped what is a butterfly stitch, you’ll find countless ways to apply it:
- Baby Blankets: Soft yarn and butterfly stitches make for a textured, cozy finish.
- Headbands and Hair Accessories: Add charm with miniature butterfly motifs.
- Summer Tops and Shrugs: Lightweight designs look stunning with this stitch.
- Cushions and Throws: Turn your home into a handcrafted haven.
Knowing what is a butterfly stitch gives you a creative tool to add elegance and whimsy to nearly any project.
Learning Resources for Every Skill Level
Understanding what is a butterfly stitch is just one part of your crochet journey. Here are some helpful resources based on your experience level:
- For complete newbies, start with a beginner crochet course to build foundational skills.
- If you’ve already mastered the basics and want to dive into textured stitches, try an advanced crochet course.
- Those interested in making their own butterfly stitch variations should consider a crochet pattern design course.
- Writers aiming to publish patterns will benefit from a crochet pattern writing course that teaches structure and clarity.
- Explore structured crochet courses online that offer flexible, project-based learning.
Each of these options will help you go beyond learning what is a butterfly stitch, empowering you to design and innovate with confidence.
Common Mistakes to Avoid
As elegant as it looks, the butterfly stitch has a few challenges:
- Inconsistent spacing: This affects symmetry across your project.
- Loose tension: Can make the stitch look sloppy and undefined.
- Skipping rows: Forgetting to count can throw off the placement.
- Forgetting the wrap: If you don’t wrap tightly enough, the “body” of the butterfly won’t hold its shape.
Avoiding these mistakes will help you master what is a butterfly stitch and maintain consistency across rows.
Tips to Perfect the Butterfly Stitch
- Mark every butterfly row with a stitch marker when starting out.
- Block your final work to set the motif’s shape.
- Use light or pastel yarns when first practicing, it’s easier to see your loops.
- If you’re combining patterns, plan your butterfly placements carefully to maintain symmetry.
These small details make a big difference when you’re working through what is a butterfly stitch and aiming for professional results.
Why the Butterfly Stitch Is Worth Learning
So, after all of this, what is a butterfly stitch really about?
It is an art of textile-based storytelling with insight, texture, and great beauty. The stitch, in its simplest terms, stands as a metaphor for transformation, as does the butterfly. The stitch thus enables the crocheter to bring his imagination into being by beautifying simple rows into works of art.
For anyone serious about improving their craft, knowing what is a butterfly stitch is more than just a technical skill, it’s a stepping stone to artistic expression.
Final Thoughts
Knowing what is a butterfly stitch would unleash the constructor of creativity in your finishing. Whether they are baby accessories, garments, or fine home décor, this stitch gives virtually all kinds of work an elegant feeling and fluid movement. It’s hard to learn at first, but with time and encouragement from My Creative Butterfly, you will incorporate this lovely project into your growing array of crochet skills.
Don’t stop at learning stitches. If you’re eager to learn to crochet, expand your horizons with resources to learn crochet stitches and learn crochet patterns. For those just starting out, learning crochet for beginners can be a joyful and rewarding experience.
With each stitch, patterns are not just made; memories are made, heirlooms are made, and works of hearts are made.
FAQs
How do you do a butterfly stitch?
To understand what is a butterfly stitch, one needs to know that it is a decorative crochet stroke that pinches yarn loops together to form the butterfly design. The procedure has you work first a few rows of double crochet stitches. Then on the row where you want the butterfly, insert your hook under several vertical loops from the previous rows, draw yarn through them and then do some wrapping motion around the loops together to pinch them, hence this creates the butterfly’s body. Next, secure with a chain stitch and continue with regular stitches. Knowing about different uses of butterfly stitches enriches the texture of blankets, scarves, and clothing.As stated, the knowledge of what is a butterfly stitch is adds beauty and texture through blankets, scarves, and clothing.
What is the butterfly stitch in sewing?
In the sewing world, a butterfly stitch is a temporary hand stitch that closes a wound or gently holds fabric together. It’s a stitch used medically or for delicate fabric repairs. The stitch looks like two loops or wings converging at a central point, hence the name. In wound care, it is applied with the assistance of adhesive strips to bring the skin together without invasive sutures. In textiles, the stitch can be used to secure fabric layers before the final stitching is complete. Understanding what is a butterfly stitch in sewing underscores its dual purpose: functional for temporary closure and decorative when used in craft stitching.
What do butterfly stitches look like?
Trying to understand what is a butterfly stitch really means, visualizing its shape. Butterfly stitches are like a lacy design of tiny wings pinched at the center in a symmetrical manner. In crochet, this stitch is created by pulling vertical loops from previous rows together and anchoring them, which creates an effect of the wings of a butterfly. In sewing or first aid, they are adhesive strips placed across a wound and look very much in-eyed with butterfly wings meeting in the center. In fiber arts or in medical terms, knowing what is a butterfly stitch comes down to recognizing its characteristic wing form, serving both elegance and function.