Category: Crochet Stitches

  • How to Crochet Hat Brim

    How to Crochet Hat Brim

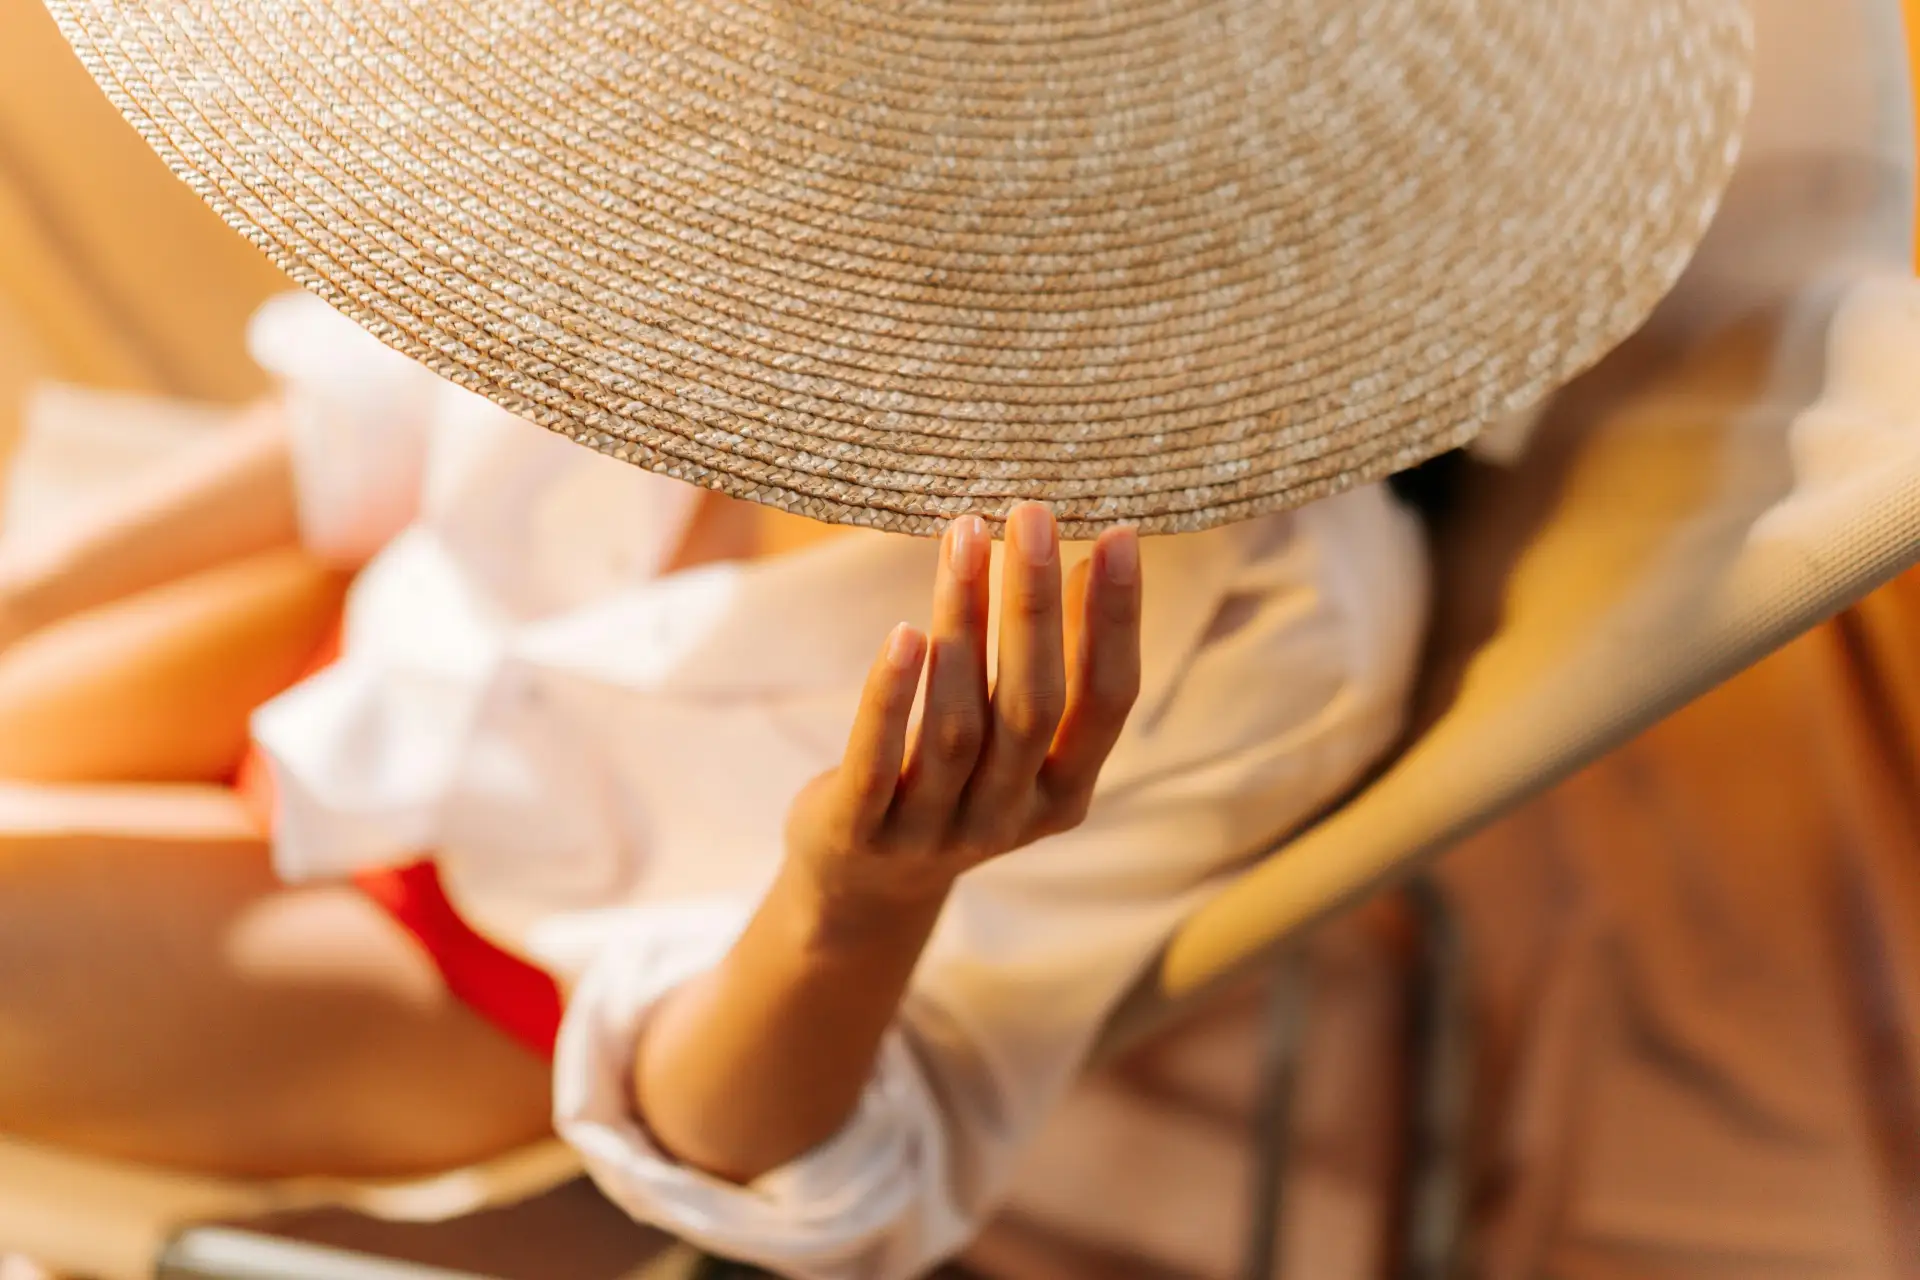
    There will certainly be a sense of satisfaction crocheting a hat and mostly the brim offers structure and style. Learning to crochet hat brim changes the usually boring knit beanie into a stylish piece, valuable to own. From floppiness to stigma to ribbed and rolled, the brim allows for creative expression within the project. This tutorial addresses techniques, stitches, and tips any amateur should follow with ease. From the yarn used to edge shaping, you’ll be introduced to the art of crocheting a brim confidently. For that crisp and professional look, you might want to indulge in crochet courses online. Let’s walk through crocheting step-by-step.

    Why the Hat Brim Matters

    If you learn how to make a crochet hat, you will ell in a hurry to find out that much of the brim is functional, not just aesthetic. It allows the hat to fit snugly: prevent stretching, and contribute to the finishing touch of style. Therefore, after learning how to crochet hat brims, you could then make all varieties of seasonal hats, meaning wide brims for summer or knit brims for winter. The creativity of brims is great; they can be created in rounds, ribbing, or sewn folds. Brim making gives shaping and consistency to beginner training. A perfectly shaped brim goes a long way to making a plain hat really useful as an accessory.

    Choosing the Right Yarn and Hook

    The correct yarn selection becomes paramount while learning to crochet a hat brim. Feel, stiffness, and flexibility all depend on the yarn used for the brim. For a cotton yarn usually needs to be applied with sunhats, whereas for winter brims you could give a try to wool or acrylic yarn. The hook must also be accurately paired with the yarn- too small dredges a stiff brim, while bigger means a droopy one. Practice with m. weight yarn first to get a good grip on crochet stitches. It is also good to keep a measuring tape handy to keep dimensions right. Proper tools ease in crocheting brims for beginners; advanced crochet course may try thinner yarns and intricate stitch patterns for style.

    Types of Crochet Hat Brims

    When understanding how to crochet hat brim, you’ll find several styles to try:

    • Rolled Brim – Created by letting the edge curl naturally.
    • Ribbed Brim – Made with front and back post stitches for elasticity.
    • Folded Brim – A double-thick brim that adds warmth.
    • Flat Brim – Stiffened for wide sunhats.

    This kind changes the function of a hat and sometimes its look too. For example, ribbed is good for beanies, whereas flat would be perfect for a summer style. As you learn crochet patterns, experimenting with different brim types will increase your creative abilities, besides giving you the ability to make diverse hats.

    Step-by-Step: How to Crochet Hat Brim

    To practice how to crochet hat brim, follow these simple steps:

    1. Start your hat – Crochet the body of your hat first.
    2. Measure head size – Ensure the circumference fits comfortably.
    3. Choose your brim style – Ribbed, rolled, folded, or flat.
    4. Work in rounds – Add rows to extend the brim to your desired length.
    5. Shape it properly – Use increases for wide brims or keep even stitches for snug fits.

    This process makes the brim approachable even when learning crochet for beginners. Repetition builds consistency, and soon you’ll have hats that fit beautifully.

    Best Crochet Stitches for Brims

    When focusing on how to crochet hat brim, some stitches provide better elasticity and structure:

    • Single Crochet (sc) – Dense, tight, and great for durability.
    • Half Double Crochet (hdc) – Offers stretch and flexibility.
    • Front Post & Back Post Double Crochet (fpdc/bpdc) – Essential for ribbed brims.
    • Slip Stitches – Perfect for finishing clean edges.

    As you learn crochet stitches, practice switching between these techniques. Ribbing, for example, gives a professional look and ensures the brim hugs the head. Experimentation is key to finding your favorite style.

    Shaping and Adjusting Hat Brims

    Brims, depending on use, could be shaped in various ways: with increased stitches for wide sun-hat brims, or flat for fitting beanie brims without stitch variation. While learning to crochet a hat-brim, keep an eye out for the shape and comfort of the wearer. If you find the brim tightly fit, work loosely with your tension or increase stitches. For a loose brim, go cotton yarn with loose stitches. These little bits of adjustment will follow you through the beginner crochet course and whenever you are learning patterns, helping you to make fashionable yet comfortable hats.

    Common Mistakes to Avoid

    When mastering how to crochet hat brim, beginners often face these issues:

    • Making the brim too tight, causing discomfort.
    • Forgetting to measure, leading to sizing problems.
    • Using the wrong yarn weight for the desired effect.
    • Skipping stitch markers which causes uneven brims.

    If you’re learning crochet for beginners, remember that patience matters. Each brim you make improves your skills. By tracking mistakes, you’ll develop accuracy and confidence faster.

    Tips for Beginners to Get Perfect Brims

    If you’re new to how to crochet hat brim, here are helpful tips:

    • Use stitch markers to keep track of rounds.
    • Try ribbing for elasticity it’s beginner-friendly.
    • Always measure the circumference before finishing.
    • Block your hat if the brim curls too much.

    As you learn crochet patterns, practicing small projects first makes bigger hats easier. The brim is simply another round of stitches, confidence grows with each attempt.

    Styling Your Crochet Hats with Brims

    A brim is more than a functional piece; it’s also stylish. When understanding how to crochet hat brim, you’ll realize you can personalize each design. Add color stripes, decorative edges, or even embellishments like buttons and bows. A ribbed brim works great for sporty looks, while flat brims suit summer elegance. By combining techniques you gain as you learn to crochet or through a crochet pattern design course, you can create hats that are as unique as their wearers. Crochet is about creativity, and styling the brim is where your personality shines.

    Conclusion: Start Crocheting Your Perfect Brim Today

    Now that you have the complete information to make the brim of a hat, it should be put into use. If the brim were then all about yarn choice and stitch selection, it would be all about making the hats functional and stylish. So, from a ribbed, flat, or folded type of brim, consistency along with creativity needs to go hand in hand. If you are taking a course in crochet pattern writing course, this is your good opportunity to proceed with practicing how to describe your technique so that your designs are easily followed by others.

    Ready to start? Grab your yarn, hook, and pattern, and begin exploring brims today. If you’re still learning crochet for beginners, this project is perfect for building skills while creating something beautiful. Let every stitch bring you closer to becoming a confident crocheter!

    FAQs

    Is it hard to crochet a hat brim?

    Well, that depends on how you view it. Learning to crochet the brim of a hat is an easy thing to do and very beginner-friendly. Simple stitches, some patience, and a lot of repetition are all a beginner really needs to get their brims fitting well and giving neat, professional finishing touches to their hats. 

    How long does it take to crochet a hat brim?

    This kind of brim usually takes about 1 to 2 hours. For beginners who are learning to crochet a hat brim, the time varies, depending on the thickness of yarn, the style of stitches, and the chosen length; steady practice makes the process go smoother and faster.

    What’s the best stitch for a hat brim?

    Front post and back post double crochet stitches are the stitches to use if doing a hat brim. They give a ribbed texture that is very stretchy, durable, and great-looking-the stretchability making the hat comfortable enough for a person, whereas the durability will help retain the form of the hood over time.
  • How to Make a Newborn Crochet Hat?

    How to Make a Newborn Crochet Hat?

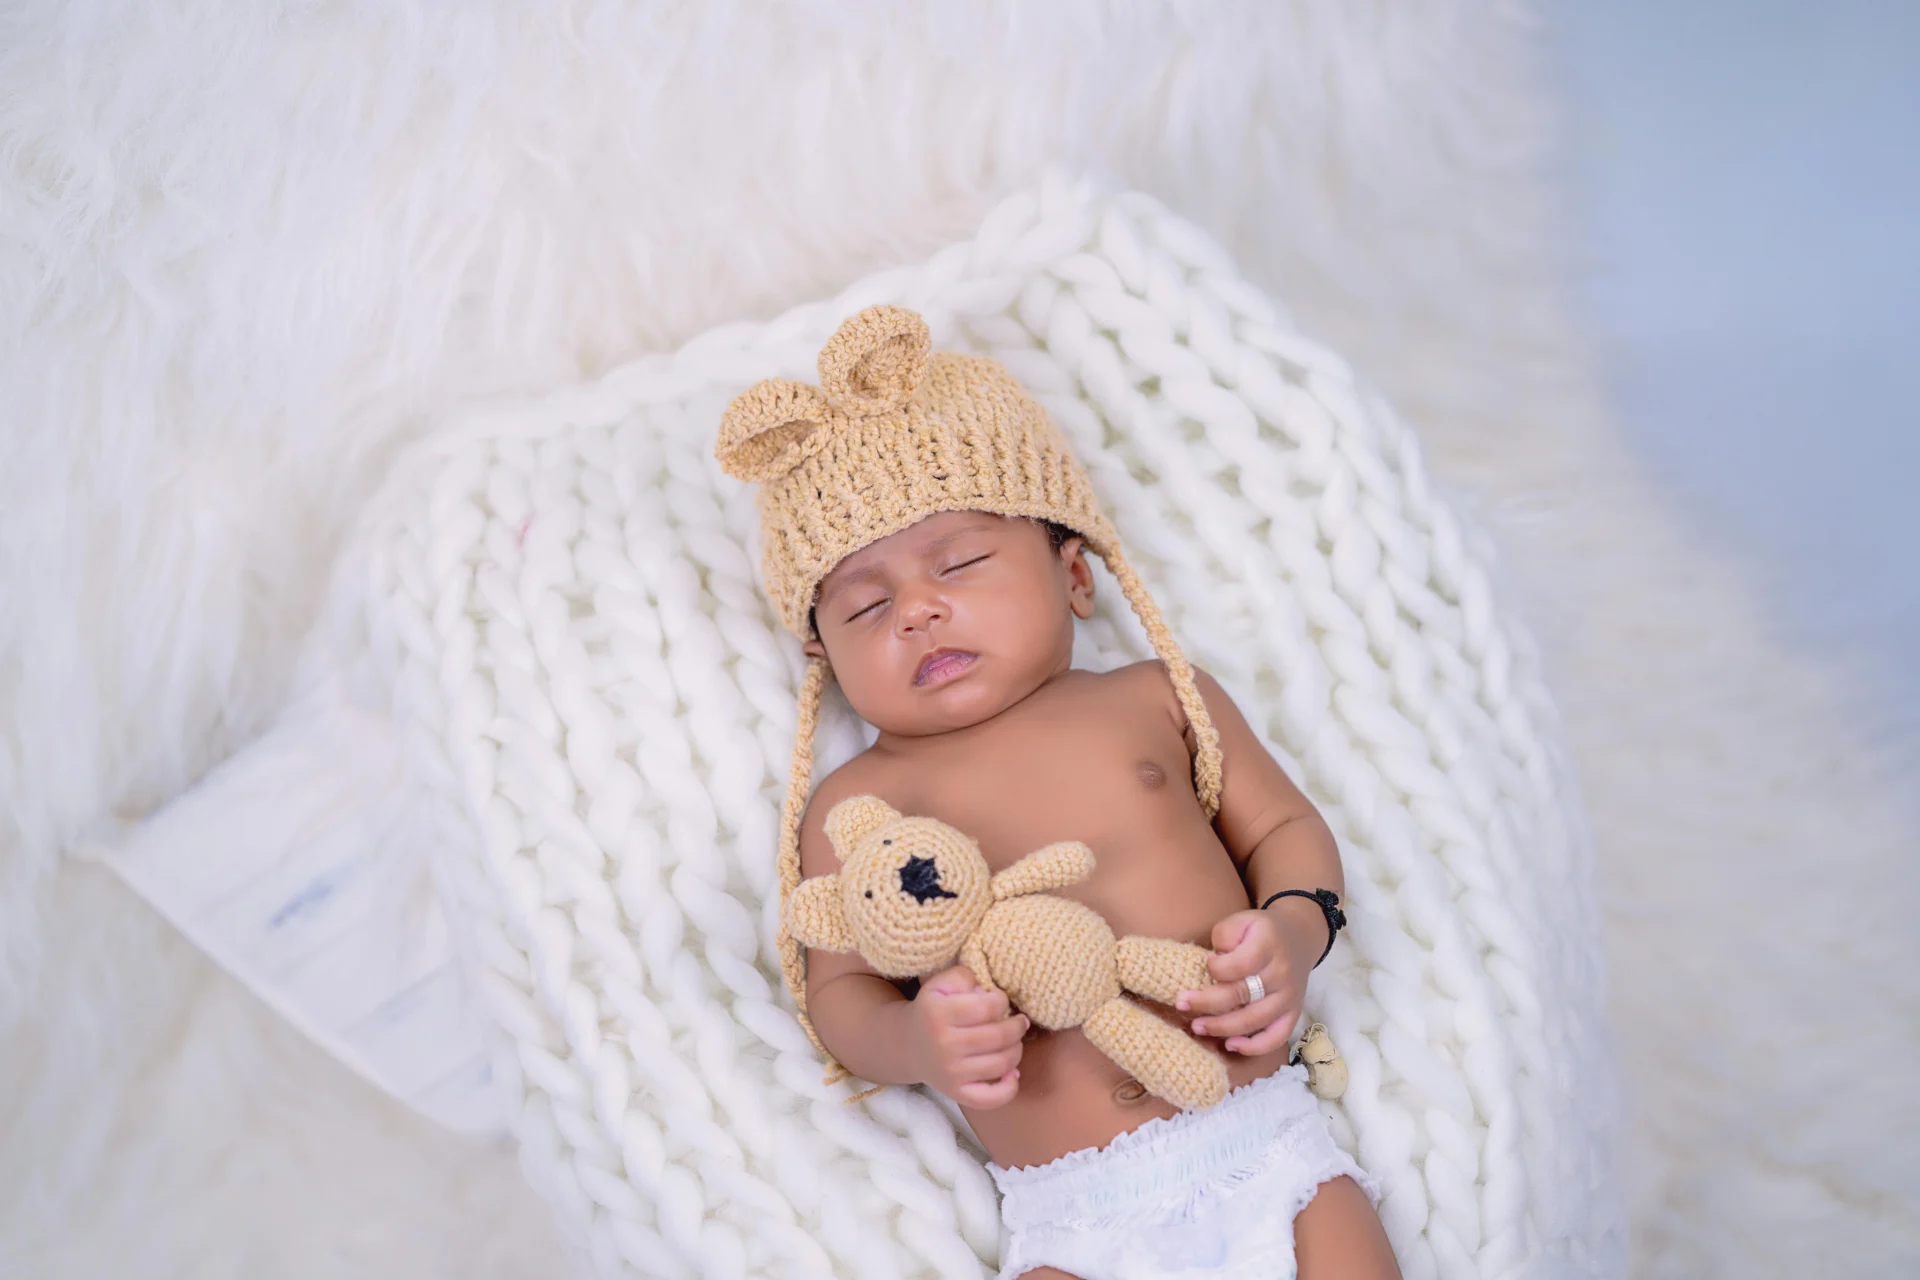
    Any time a baby is being welcomed, it is truly a high-touch moment. Handmade pieces for babies just add to that feeling of warmth. If ever there is a brainstorming session to be had or a little crayoning needed for creating the newborn hat, this tutorial will walk you step by step through the whole process. The newborn hat is good and fast, and certainly rewarding-from a complete beginner to an advanced level in crochet. A few hats come handy to decorate and help in keeping the memory of the parents alive. 

    This blog, hence, will cover absolutely everything on making crochet newborn hats-yarn, stitches, patterns, and finishing. So, let’s jump right in!

    Why Make a Newborn Crochet Hat?

    Learn to crochet hat is a perfect way to combine creativity and care. Unlike larger projects, a baby hat requires less yarn and time to make-it’s perfect for a quick gift! Newborn crochet hats are treasured items because they are soft, handmade, and uniquely styled. Suppose you are just beginning your journey and trying to learn crochet for beginners or plan to take some crochet courses online; this is an excellent start for you. You will learn core skills and have fun doing it. Plus, handmade hats are superb for baby showers, charity donations, or keepsakes. There’s a thought behind each stitch that adds value to the present over anything money can buy.

    Materials Needed to Make a Newborn Crochet Hat

    To start your journey in how to make a newborn crochet hat, you’ll need a few essential supplies. Luckily, the list is short and inexpensive:

    • Yarn: Soft cotton or baby-friendly acrylic is best.
    • Crochet hook: Usually size 4mm–5mm works well for newborns.
    • Scissors: For trimming yarn ends.
    • Tapestry needle: To weave in loose ends neatly.
    • Stitch markers (optional): Help track your rounds.

    When you learn crochet stitches, you’ll realize that tools are simple, yet they create endless possibilities. For a beginner, these materials are easy to manage and allow you to focus on practice without overwhelming complexity.

    Choosing the Right Yarn for a Newborn Hat

    The choice of yarn is perhaps most critical when being made into a newborn hat: safe and soft. Being the delicate kind of skin that a newborn has, any damaging fibers shall be avoided at all costs. These kind of yarns are quite popular since they are soft, lightweight, and most importantly, easy to wash. When you start learning crochet patterns or go for advanced crochet course, you might have seen the pattern actually mention the weight of the yarn. Usually, DK or worsted-weight is preferred for newborn hats. Then, the lighter ones would be breathable hats for warm climates, while the heavier ones form the cozy winter edition. Always pick hypoallergenic yarns meant for babies.

    Basic Crochet Stitches You Need

    Before jumping into how to make a newborn crochet hat, it’s important to get familiar with a few stitches. Hats are typically built with simple stitches that even beginners can master.

    • Chain stitch (ch) – forms the foundation of your work.
    • Single crochet (sc) – creates tight, durable fabric.
    • Double crochet (dc) – adds height and flexibility.
    • Slip stitch (sl st) – connects rounds seamlessly.

    If you’re still learning, use resources that help you learn crochet stitches step by step. Practicing these stitches ensures your newborn hat is both neat and comfortable.

    Step-by-Step: How to Make a Newborn Crochet Hat

    The easiest way to start a hat is by working in the round. Follow this step-by-step guide for a basic beanie-style newborn hat:

    1. Make a magic ring or chain 3 and join to form a loop.
    2. Round 1: 6–8 single crochets into the loop.
    3. Round 2: Increase in each stitch around.
    4. Round 3–5: Continue increases until the crown measures about 4 inches.
    5. Rounds 6–10: Work even stitches (no increases) for length.
    6. Final round: Slip stitch around to finish.

    Adding Style to Your Newborn Hat

    Knowing how to make a newborn crochet hat doesn’t stop at basics, you can add creative flair. Some popular styles include:

    • Earflap hats with ties for extra warmth.
    • Beanie hats with stripes or textured stitches.
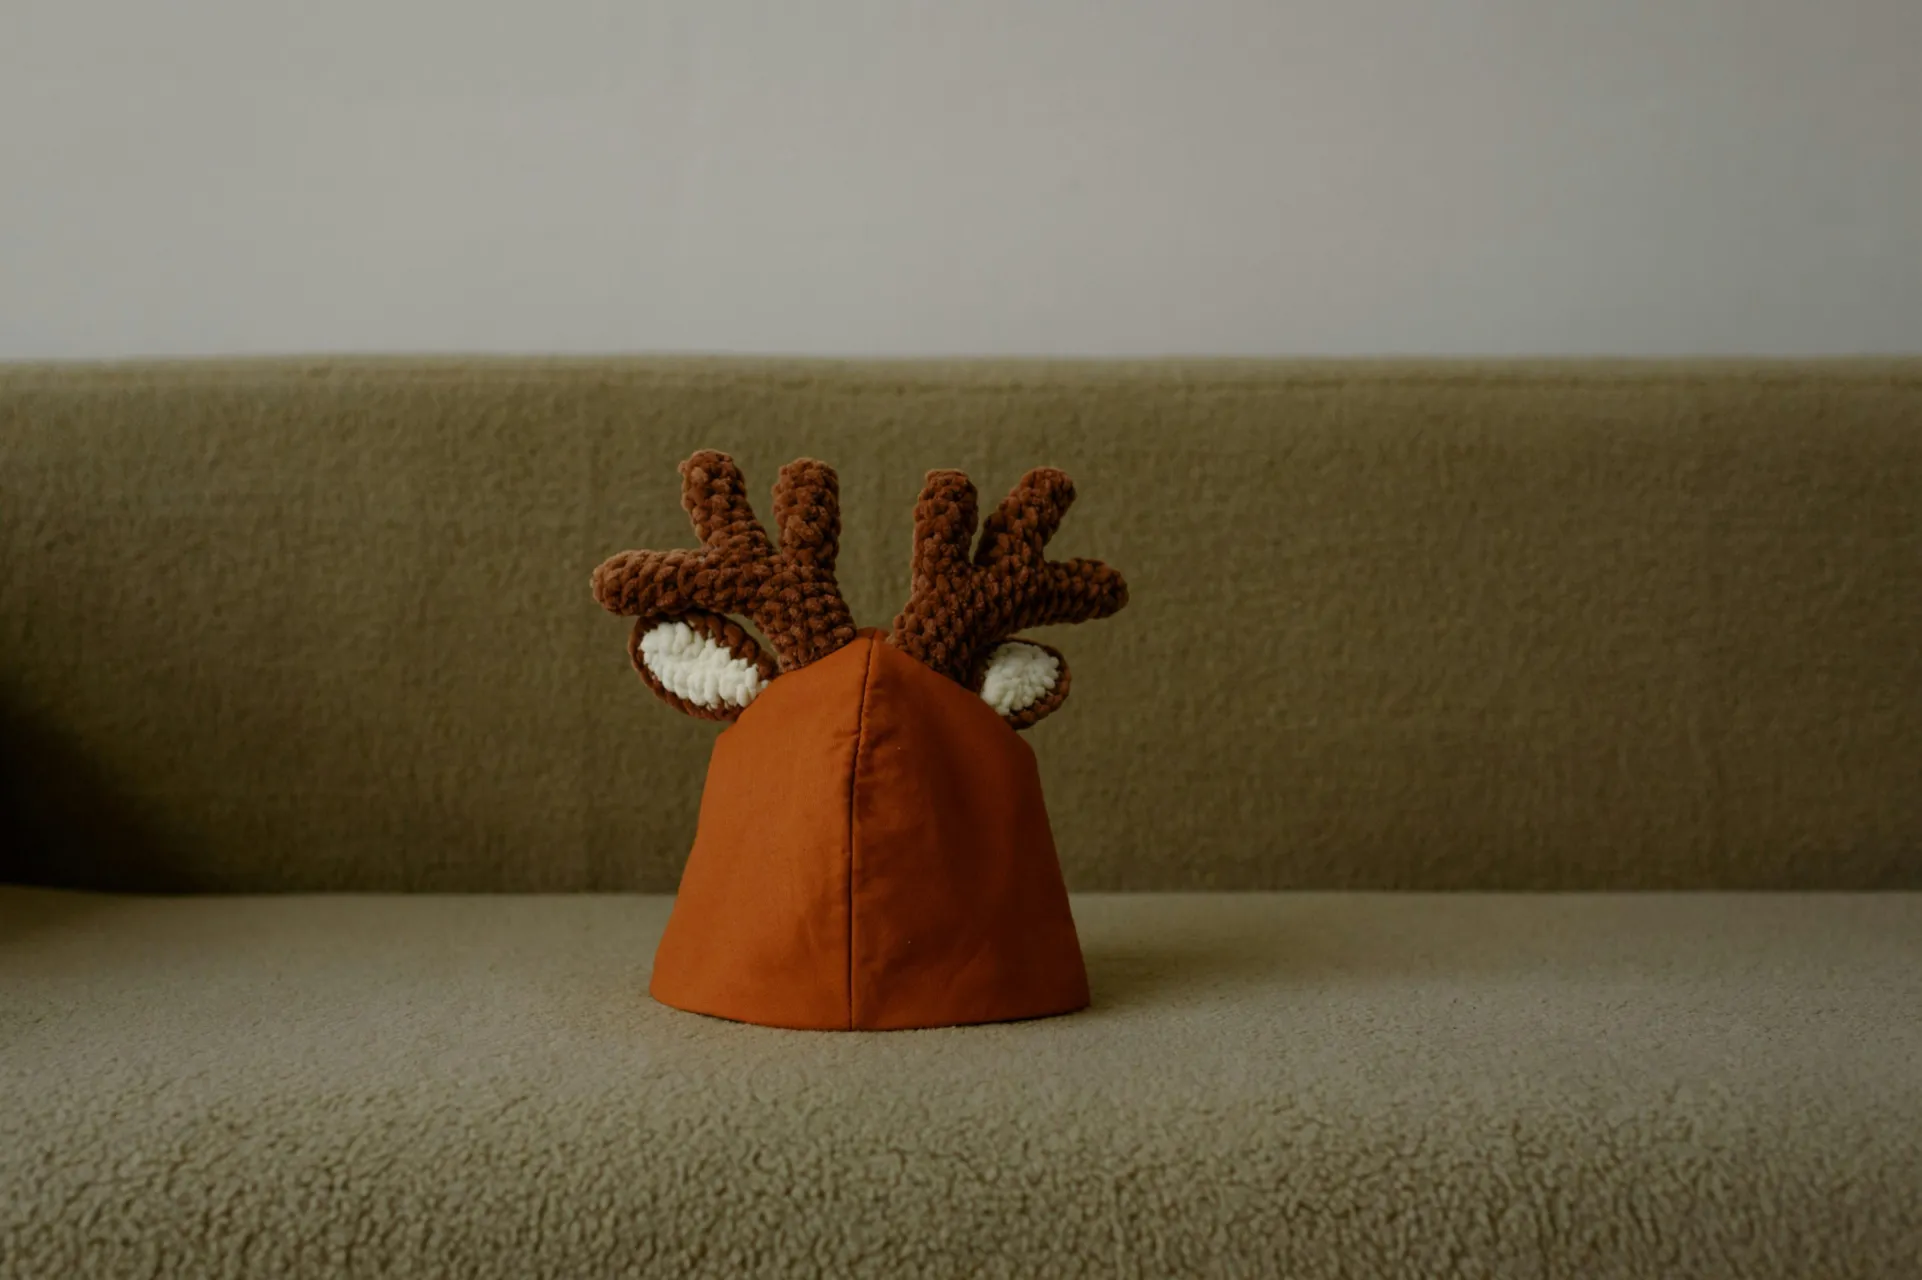
    • Animal-inspired hats with ears or embellishments.
    • Flower or bow appliqués for a cute finish.

    When you learn crochet patterns, you’ll find endless inspiration to customize your work. Adding embellishments ensures each newborn hat feels one-of-a-kind and full of personality.

    Common Mistakes Beginners Make

    If you’re still learning crochet for beginners, mistakes are normal. Here are a few common issues while figuring out how to make a newborn crochet hat:

    • Miscounting stitches, leading to uneven shaping.
    • Using the wrong hook size for your yarn.
    • Forgetting to measure the crown diameter.
    • Tight tension, making the hat stiff.

    The good news is, practice solves most of these. Always check your work as you go, and don’t be afraid to unravel and retry. Mistakes are stepping stones in learning.

    Care Tips for Newborn Crochet Hats

    Once the process of acquiring the skill of making a newborn hat through crochet is complete, proper care will indeed provide for a longer lifetime. Being sensitive, it is suggested to wash hats using mild detergent in cold water. This is generally by hand, but machine washing in delicates should be tolerate-able with most baby yarns. Drying flat maintains the hat shape. Avoid high heat, for if allowed, it causes yarn to stretch or pill. For those working through a beginner crochet course or venturing into a crochet pattern writing course, these care instructions are as important as the stitches. Not only does it beautify the hat, but it also makes it useful for the parents.

    Final Thoughts

    Newborn crochet hat project is a cute and fun way to learn for any crafter. These gifts become truly meaningful and precious keepsakes if good yarn and basic stitches are used and practiced thoroughly. This way, the aspect of craft is given precedence in terms of creativity and love. Should you want to go beyond working only on hats, then go ahead and hunt for materials teaching you the craft, the stitches, and perhaps even reading patterns, or a crochet pattern design course to enhance your creative expressions in a more concrete way.

    FAQs

    Is it hard to crochet a newborn hat?

    Crocheting hats for newborns is unsuitable for beginners. Newborn hats are smaller in size, simple stitches, and pretty fast to make. Great for practicing because of the few complications and satisfaction that comes with gifting something made with one’s own hands.

    How long does it take to make a newborn crochet hat?

    A basic beanie with the newborn crochet hat takes two to four hours. Beginners get faster as they practice more. More fancy stuff, like flowers or textured stitches, could lengthen your project time but definitely make it more fun and rewarding.

    What size should a newborn crochet hat be?

    When the newborn is being manufactured with the crochet hat, standard sizing must be observed: 12 to 13 inches in circumference and about 5 to 6 inches in height. This will fit snugly but comfortably enough to keep little ones warm while looking cute in any handmade creations.

  • How to Make a Crochet Hat?

    How to Make a Crochet Hat?

    Such crochet hats are timeless accessories: practical, stylish, and customizable. But many beginners wonder how to crochet an actual hat that somehow “looks neat” and fits the way one wants it to fit. The good news is that all this comfort can be made at home, with advanced crochet course. In this complete guide, we present everything from material choice, all the way to crown shaping and finishing. Consider yourself working on your own crochet hat that is trendy yet practical, no matter how long you have been crafting or whether you are a beginner.

    Why Crochet Hats Are a Perfect Beginner Project

    Hats are quick and rewarding projects, without the endless hours required by many others. So, crochet hats were often among first projects for beginners to try. With crochet courses online, you could even make a simple beanie in just a couple of evenings. Crochet hats are a neat space for all kinds of color, texture, and pattern combinations. If you are just teaching yourself to crochet or maybe taking some online crochet classes, hats are a nice medium between challenge and fun design.” Also, hats are much-needed gifts, something warm for winter, or light for summer styling.

    Materials You Need to Make a Crochet Hat

    Before diving into how to make a crochet hat, gather these essentials:

    • Yarn – Acrylic or wool blends are great for beginners.
    • Crochet hook – Choose the size recommended on your yarn label.
    • Measuring tape – Ensures correct sizing.
    • Stitch markers – Helpful for keeping track of rounds.
    • Scissors & needle – For cutting yarn and weaving ends.

    Getting the right tools makes your first attempt at how to make a crochet hat smoother and more enjoyable. As you progress, you’ll naturally experiment with different fibers and hook sizes.

    Choosing the Right Yarn and Hook

    Depending upon the yarn used, the working of the crochet hat will be affected. Bigger mass yarns knit quickly and give nice and cozy hats, whereas one-centimeter-thin yarns best suit the needs of an airy-and-comfy summer hat. Hook size always matches the weight of the yarn; that is the unconditional rule of thumb for every crochet project. Once you know crochet pattern design course, then working on hats will be the perfect consistency exercise for even an advanced course. Along with practicing, the yarn-hook combination has to fit if you want to crochet hats: comfortable, attractive, and sturdy. Remember: Yarn choice sets the tone of the entire project.

    Basic Crochet Stitches for Making Hats

    To understand how to make a crochet hat, you’ll need to master some basic stitches. Common stitches include:

    • Chain stitch (ch) – The foundation for your project.
    • Single crochet (sc) – Tight and sturdy, great for warmth.
    • Double crochet (dc) – Taller and looser, ideal for breathable hats.
    • Slip stitch (sl st) – Used to join rounds seamlessly.

    These are the building blocks of any hat design. Once you learn crochet patterns, you can expand into textured stitches for added style.

    Step 1: Start with a Magic Ring or Chain

    The foundation is important for how to make a crochet hat. Most pleased to start the hats with a “magic ring” or a small chain loop. This shall form the crown that one is going to be increasing upon. The magic ring is preferred mainly because it does not leave any hole in the crown area. However, most beginners practicing on learning crochet for beginners or those following beginner crochet courses usually go for the simple chain circle as it is easier to handle. Once you’ve grown a bit confident, go for the magic ring—it is the neat, professional-looking finish one is really looking for.

    Step 2: Shaping the Crown with Increases

    Once our base is going to be made, the odd increase stitches must be applied evenly. This slightly larger width provides room for the crown of your hat. This step is essential toward preparing a correctly fitting crochet hat. Anyone who’s ever undergone a crochet pattern course knows that much effort must be put into organizing the increases, both for appearance and for functional purpose. Increases are made slowly, and just two stitches are added here and there in some rounds so the hat can grow at a rate that does not cause ripple formation. Check out the diameter very often with a measuring tape for accuracy and for being comfortable.

    Step 3: Building the Body of the Hat

    To experience what distinguishes any crochet flower pot, you put in a work with soft ingenuity enjoyed from the crown with modifications. This is typically where the joy of making a crochet hat begins; here, you can apply various techniques for stripes, textures, or color. This area gives free rein to creativity when one studies crochet pattern writing course. You can make slouchy beanies, fitted hats, or even bucket-style hats-the choice depends on which styles attract you.

    Step 4: Adding the Brim or Ribbing

    In making a crochet hat, the brim is a final touch. A tight-fitting brim would ensure the hat fits securely and comfortably for the wearer. Ribbing is usually worked in front post and back post double crochet stitches to give the required elasticity.

     This simple folded brim can be created in any number of ways, with a bare minimum of extra rows. If you have learn to crochet, then you will realize that this is the step where you personalize the directions, giving your hat both style and practicality.

    Common Mistakes Beginners Should Avoid

    When learning how to make a crochet hat, beginners often face challenges:

    • Forgetting stitch counts, causing uneven shaping.
    • Using the wrong hook size, leading to tight or loose hats.
    • Ignoring gauge, which results in poor fit.
    • Skipping finishing touches, like weaving ends securely.

    Avoiding these mistakes ensures your crochet hat looks neat and lasts longer.

    Creative Ideas for Crochet Hats

    Once you master the basics of how to make a crochet hat, try experimenting with these creative ideas:

    • Add pom-poms for a playful touch.
    • Mix colors with stripes or gradients.
    • Try textured stitches for unique designs.
    • Attach appliqués like flowers or stars for decoration.

    If you love to learn crochet patterns, these additions let you turn a simple hat into a personalized fashion statement.

    Final Thoughts

    Something so beautiful yet practical to create is the French hat-a terribly rewarding skill to have. From choosing yarn and hooks to crown shaping and finishing touches, each step teaches patience and creativity. Anyone looking to learn crochet stitches and a little more advanced creativity-will build confidence with the idea of making hats and creativity in the air. 

    Ready to start your crochet journey? Try your first hat today and enjoy the whole experience, for soon you may be making trendy hats for yourself or for the others.

    FAQs

    Is it hard to crochet a hat as a beginner?

    It is by no means the hardest thing. Once you have made one, it is very easy. Hats use pretty basic stitches and repeatable patterns, making one of the most simple methods to tackle as a beginner on one’s beginning crochet adventure.

    How long does it take to make a crochet hat?

    Depending on timing, a simple beanie can be crocheted anywhere between 4 to 6 hours by beginners, while complicated ones may take more time, all depending upon the stitches, yarn thickness, and complexity of design.

    Do I need special tools to crochet a hat?

    No, no other material is necessary. You only need some yarn, a hook, scissors, and a needle. Stitch markers and a measuring tape can be used to those end purposes. Designing everything with that set would help in finishing off so neatly that even stitch counts are tracked.

    Can I make a crochet hat without a pattern?

    Yes. Once you understand the basic construction of making a crochet hat, you freestyle measuring the head size, shaping the crown with increases, and continuing rounds until the hat reaches the desired length and fit.