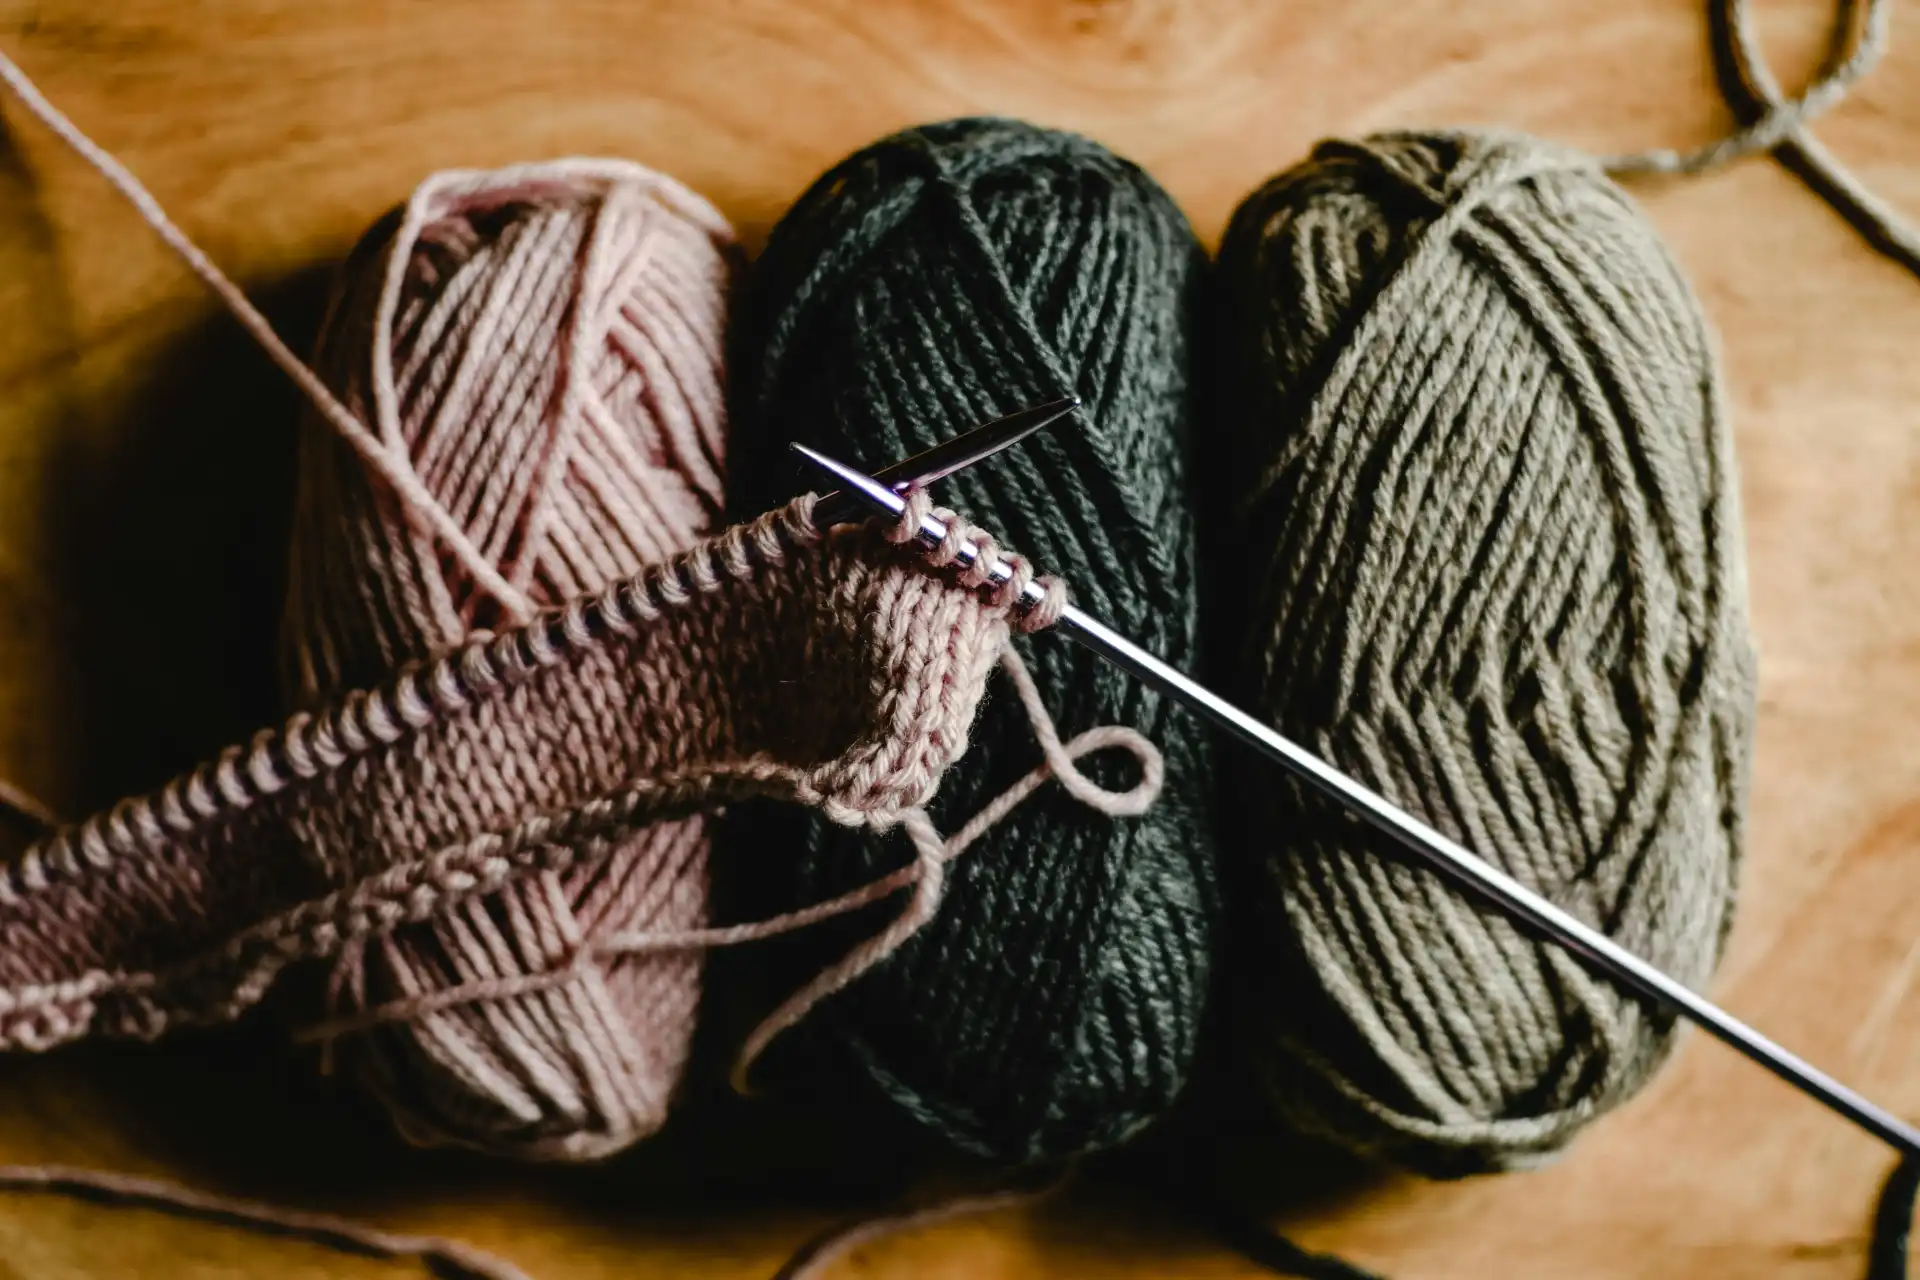
To many beginners, crochet patterns may appear scary and intimidating with their abbreviations, shapes, and tiny markings that act like puzzles. But, once you learn them, reading crochet pattern symbols becomes second nature. These symbols are international; hence you never completely depend on the text set of instructions. If one is a beginner or a pro, this skill will speed up the project, keep the work neat, and increase fun. Crochet courses online expose you to a practical approach, building you up in interpreting crochet charts and symbols with confidence like an expert would.
Why Learning Crochet Pattern Symbols Matters
To many beginners, crochet patterns may appear scary and intimidating with their abbreviations, shapes, and tiny markings that act like puzzles. But, once you learn to crochet , reading crochet pattern symbols becomes second nature. These symbols are international; hence you never completely depend on the text set of instructions. If one is a beginner or a pro, this skill will speed up the project, keep the work neat, and increase fun. Advanced crochet course expose you to a practical approach, building you up in interpreting crochet charts and symbols with confidence like an expert would.
Basic Crochet Symbols and Their Meanings
Basic stitches go into the essence of how to read crochet pattern symbols. Each stitch is always represented by some symbols on a chart, usually a simple geometric shape. For example:
- Chain (ch): A small oval or circle
- Slip Stitch (sl st): A filled dot
- Single Crochet (sc): A plus sign (+) or an “x”
- Double Crochet (dc): A tall “T” with a line through it
Once these basics are in place, advanced stitch patterns are really variations on these. For learning crochet for beginners, practicing these simple stitches gives them firm footing before attempting complex stitch patterns.
How to Follow a Crochet Chart Step by Step
Charts are typically laid out from bottom to center and worked up in rows or rounds. The stitch symbols are universal, while arrows and numbers help orient the starting points. Most designers use humbly modified symbols for the understandable instruction, so check your legend or key. It takes a bit of practice to read charts intuitively. Chart reading paired with a beginner crochet course or practice with crochet stitches is an ideal way to visualize the stitch placement and help one work more accurately.
Decoding Advanced Crochet Symbols
As you become more proficient at reading crochet symbols, you may encounter the more advanced stitches, such as clusters, popcorns, and cables. These complex-looking stitches are actually quite simple, being depicted through separate marks such as filled-in shapes or composite lines. For instance, the oval for a puff stitch is drawn with lines to show the number of yarn overs. Knowing these advanced symbols will grow your stitch repertoire and will give you confidence in working on difficult projects. To develop crochet patterns with elaborate textures, advanced-symbol reading is a must!
Tips to Make Reading Crochet Symbols Easier
Mastering how to read crochet pattern symbols takes practice, but there are simple strategies that make the process easier:
- Always check the legend for stitch meanings.
- Highlight the row or round you are working on.
- Use stitch markers to match chart placement with your project.
- Practice with small swatches before starting a full design.
By following these tips, beginners can easily solve their doubts and work with charts effortlessly. Eventually, reading crochet symbols becomes more natural than reading text instructions, if not simpler.
Common Mistakes When Reading Crochet Symbols
The errors learned in reading crochet pattern symbols arise even with some experienced crocheters. A very frequent error would be a misinterpretation of marks that may look alike: a single crochet mark for a slip stitch, for instance. Sometimes underadventurous ones lose track of the rows in a circular design which prevents the stitches from lining up properly in the circle. Skipping the legend or rushing through the charts generally ends in the big bags of frustration. Put in a good time, cross-reference your work more, create extra practice on simple designs before attempting those intricate ones, and avoid these errors. You may want to consider pursuing crochet pattern design course or crochet pattern writing courses to attain an excellent understanding of charts’ inclusions, symbols, and documentation, hence making your crochet work more precise and professional.
Final Thoughts
Interpreting crochet pattern symbols undoubtedly stands in the highest echelons of things worth when you learn crochet stitches. It clears any confusion for you, allows you to speed up the process, and also opens the doors for you to work on any patterns from any part of the world. This knowledge enhances your confidence and of course skill in crochet while working with either simple stitches or more complex ones. Keep exploring, keep practicing, and most importantly, have fun while working with charts. Each project done is another landscaping granted to display your advanced accrual and cultivation.
Ready to take your crochet to the next level? Explore new stitches, challenge yourself with complex patterns, and enjoy the creative freedom that crochet charts provide.
FAQs
What is the easiest way to learn crochet pattern symbols?
Strengthen the skills to read crochet pattern symbols by beginning with basic stitches such as chain stitch, slip stitch, and single crochet. Practice them as seen in the charts while comparing the written instructions.
Do all crochet patterns use the same symbols?
Yes, indeed, crochet symbols are standardized with some small variations, depending on the designer. In other words, always make sure that you consult the legend given in a particular pattern to know exactly how to interpret it with respect to your own working procedure.
Are crochet symbols better than written instructions?
Both have their benefits, but, in most cases, it just appears easier for visual learners to read crochet pattern symbols. Charts allow stitch placement to be seen clearly at a glance, thus making them easier to follow than long-drawn-out text.
Where can I practice crochet pattern symbols?
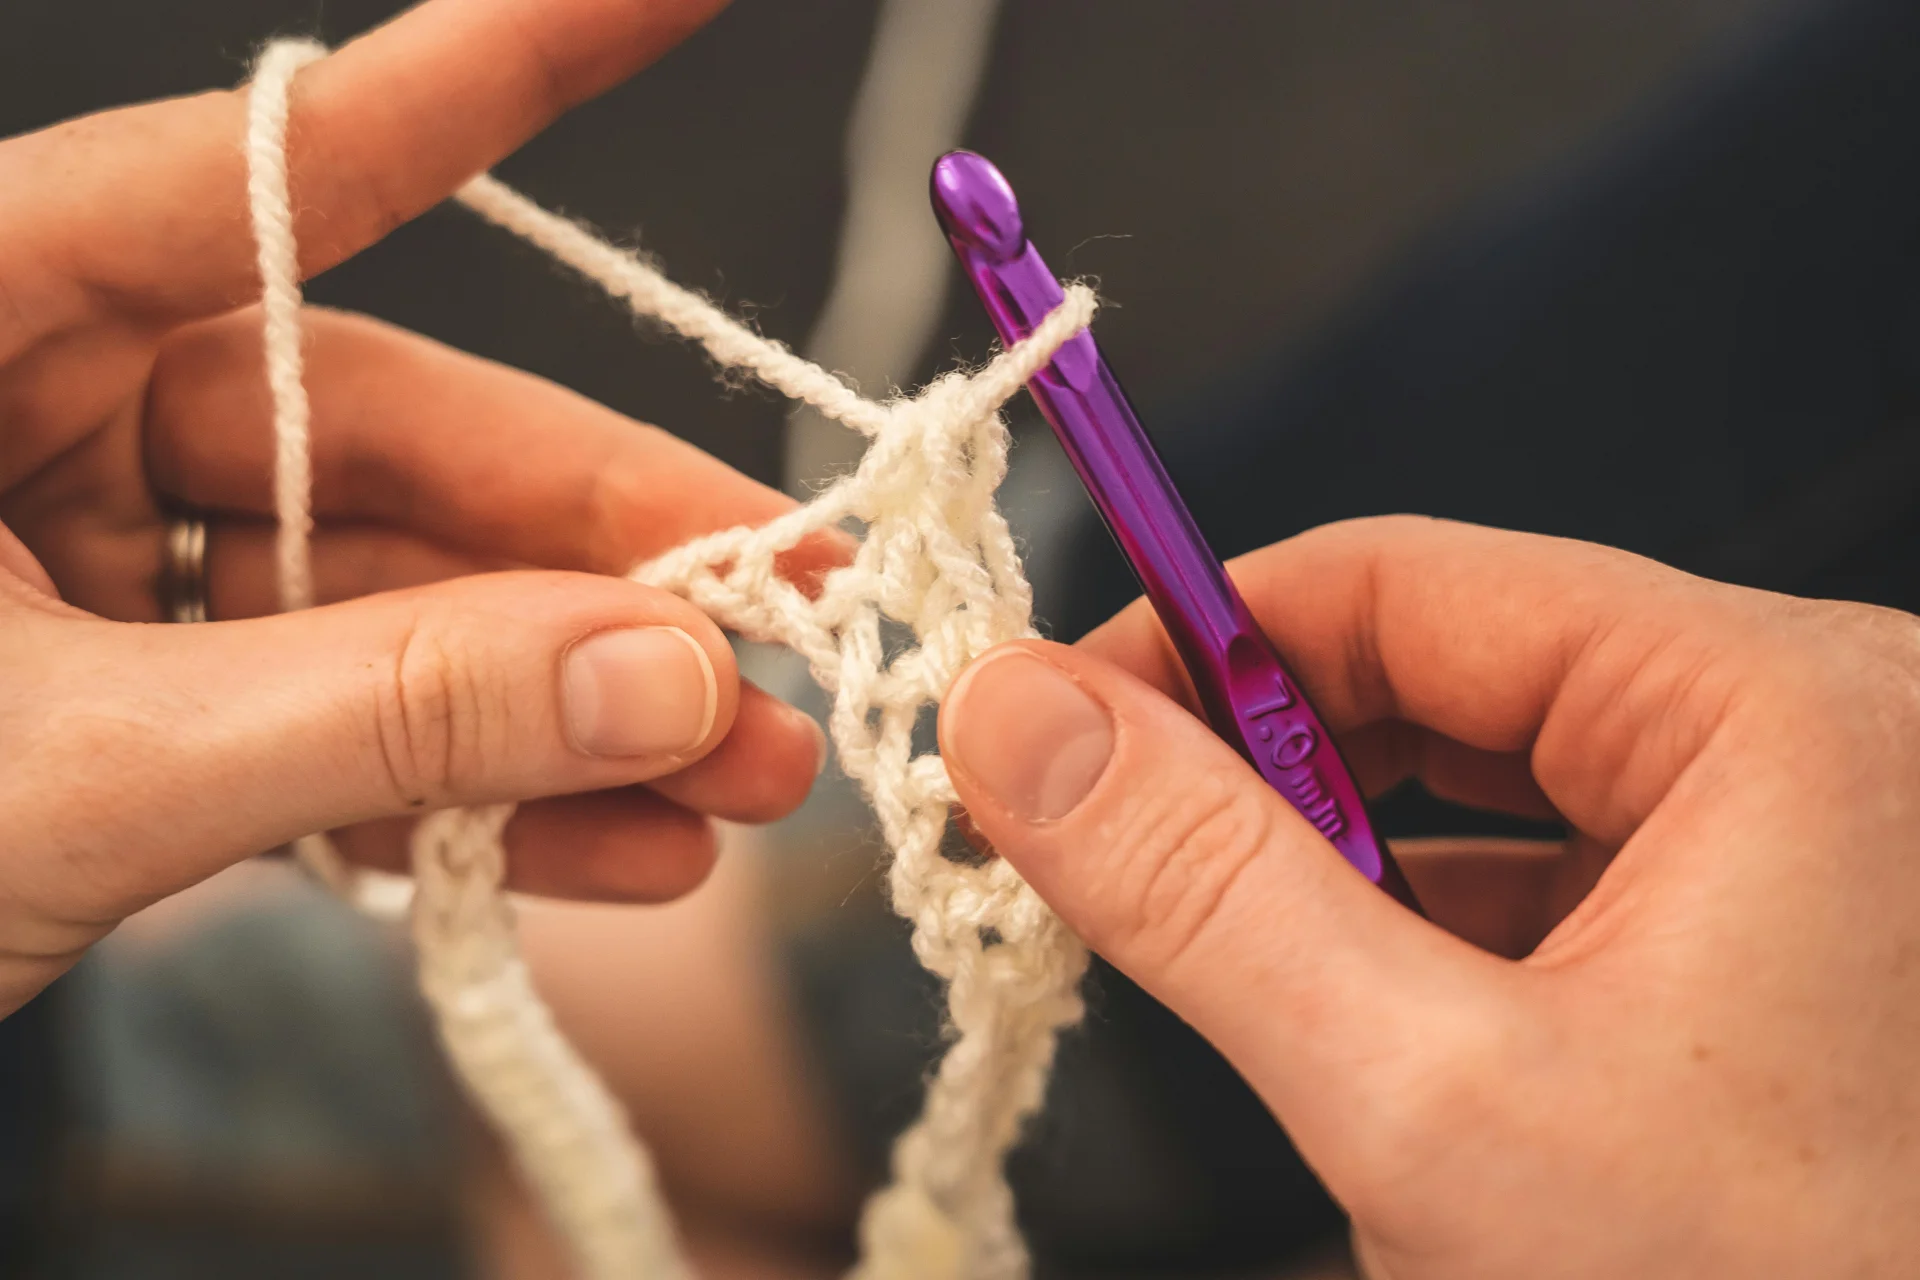
Below are some beginner charts you can use to familiarize yourself with crochet pattern symbols. Small swatches help you test new symbols without embarking on a large project.